We have added the new “Mass Import” feature to PlanGuru in v8.0.0.9. Currently, this is only available to Quickbooks Desktop users, but will be expanded out to Excel users in the new future. What this feature allows the user to do is have the program cycle through all imports in to individual class analyses, without having to open, import then save and close each one. Instead the program cycles through them, importing from the correct class in one process.
1. Requirements
As stated above this feature only works with QuickBooks desktop, and as such all requirements of that import still apply here.
In addition, in order for an analysis to become eligible for a mass import, it must be imported by itself through a normal individual import once. This is necessary because we now save the class associated with each analysis after an individual import. After that one import it will be available as an option to import during a mass import.
2. Launching the Mass Import and Use
To launch a mass import simply click Import Data>Financial Statements. Once you do that, if you have run an individual import in to multiple analyses, you will receive this prompt:

Clicking No just takes you to the regular import menu, however upon clicking yes you will be taken to the analysis selection list shown here:
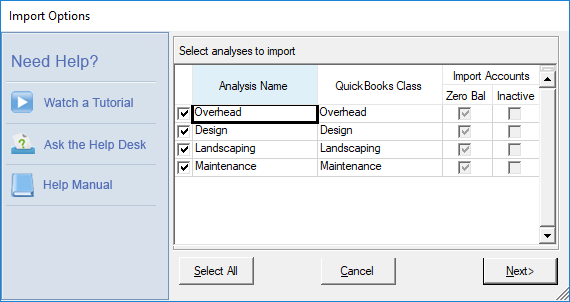
After selecting the analyses, you want to import click Next to be taken to the “Periods to Import” menu.
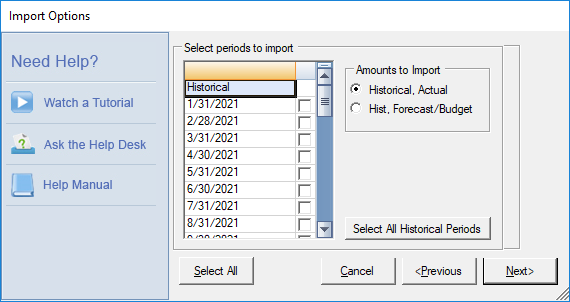
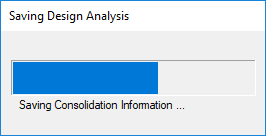
Once you click Next, the imports will begin. PlanGuru will show a progress meter with the name of the analysis it is currently importing into listed above. Once it has finished cycling through all of them the process is complete.
3. Notes
The Mass Import only imports in existing accounts that are already in the mapping. If you have new accounts, these will not be brought in to the mass import and will have to be imported in via an individual import first before the mass import will pick up on them.