Line of Credit
How to create a Line of Credit in PlanGuru
PlanGuru's Line of Credit tool allows users to maintain a minimum cash balance automatically by advancing and paying down cash borrowed on a line of credit. Using this tool is simple and allows you to accurately forecast your balance sheet when additional revolving financing is needed.
Begin by adding a new account, or modifying your existing line of credit account, within the 'Current Liabilities' section on the balance sheet.

In order to access the Line of Credit tool select the 'Short Term Notes Payable' Account Type:

Then select the 'Line of Credit' projection method:

When this method is selected a number of fields will appear that allow you to enter the terms of the line of credit.
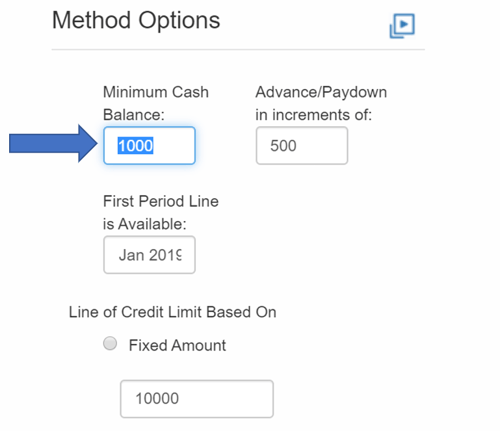
Start by selecting a minimum cash balance to be maintained on your balance sheet.
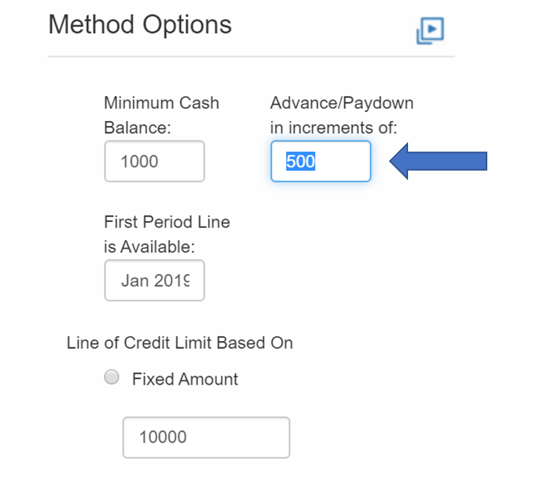
Next select your 'Advance/Paydown' increments. This is the amount that borrowings and repayments will be made on your line of credit. Try to select an amount that is low enough to be accurate, but not too low such that the tool needs to loop through too many iterations while calculating your end cash balance.
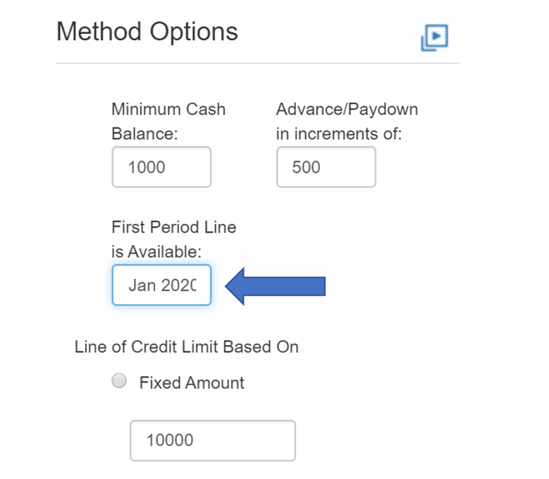
Then select the first month that the note will be available in.
Finally you'll need to select a Line of Credit limit. This can either be expressed as a fixed amount.
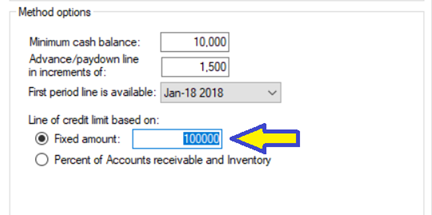
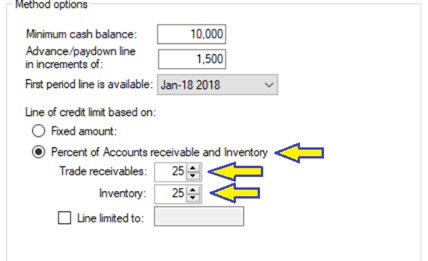
OR as a percentage of Accounts receivable and inventory.
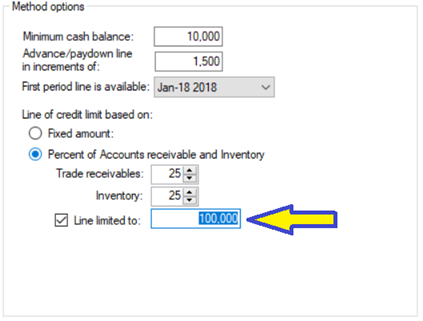
If we check the Line limited to option we can set a fixed amount that will be the absolute highest that the line of credit can go regardless of the amounts of trade receivables or inventory.
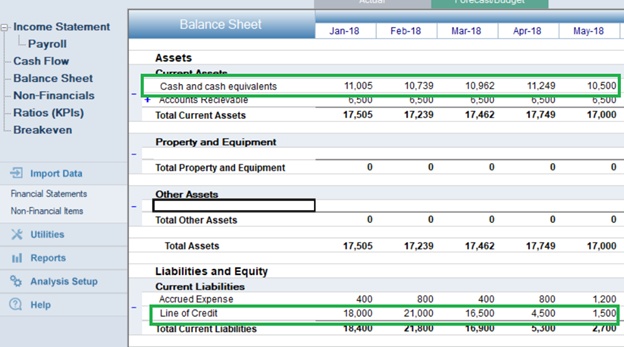
To finish click OK. When you return to the balance sheet you'll notice that your cash balance has been adjusted in accordance with the terms of your line of credit.
