Working with the payroll utility is very similar to working with other categories or supporting schedules. In this knowledge base post we will take you through how to create payroll schedules, edit their taxes, and add items to the schedule
Step 1: Creating the Schedule
Adding a Payroll schedule works exactly like creating a new category, or a supporting schedule. Just right click where you want the payroll schedule to be placed and select either “Add new payroll schedule”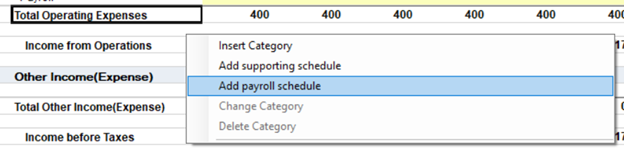
If you added your payroll item through the import process or wish to add more detail to an existing account, select “Convert category to payroll schedule”.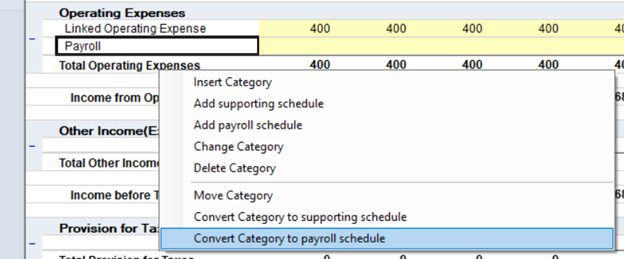
Once the payroll schedule has been created you will see it appear under the Income Statement on the side as a selectable sub-sheet, just like a supporting schedule would.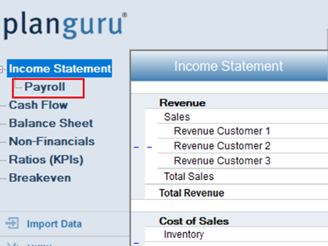
Step 2: Payroll Taxes
When you set up a payroll schedule for the first time, you will be prompted to set your payroll taxes. In this release of the payroll tool we allow for up to 10 state taxes to be added. In addition, taxes that are always paid throughout the US come standard. Add the state, type in the tax amount, and the limit if there is one. Do not worry if you make a mistake setting up these taxes as you can always go back and change them later.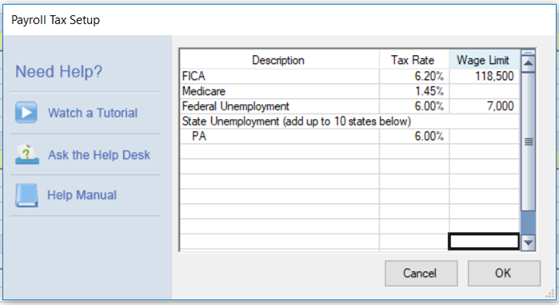
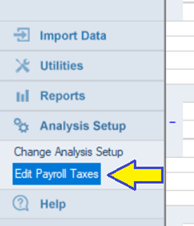
If you need to later go back and edit your taxes, you can do so by going to Analyses setup and then selecting Edit Payroll Taxes. This will bring up the exact same menu found when you create a schedule for the first time.
If you are not based in the US and do not pay taxes equivalent to FICA, Medicare, and Federal Unemployment you can edit those, or zero them out.
Step 3: Setting up the schedule
Once you have entered your taxes you will be guided through the setup wizard for the payroll schedule itself. The first step is very simple. Just give your payroll schedule a name and assign it a subclass. After that you are asked to create its corresponding tax line item. In this current release all taxes associated with a single payroll schedule will be represented by one line item in your analysis. You can either create a new tax category to link to, or link to an existing one.

Step 4: Adding items to your schedule
Once the setup of the payroll schedule is complete you will be taken to the payroll schedule detail, which will initially be totally blank. To start adding items to your payroll schedule, just right click and hit “Insert Category”.
As you can see from the screenshot, this looks a bit different than setting up a normal category. Your first option is to select if this line item is going to represent just a single employee, or a group of them. If you choose the group option, you will be asked now many are in that group. Then you will name the employee, or employee group. After that you will give the state that this employee or group lives in. The last step is choosing a projection method. In the payroll utility you have the choice of four projection methods. The method shown in the screenshot below is the “Salary” projection method. Here you simply enter how much the employee makes per month, and key in any additional bonuses they get.
Next, we have the “Hourly” projection method. It works in much the same way as salary. You enter in their hours, and then their rate per hour. You have an additional column in case they also work overtime and can still key in bonuses as well.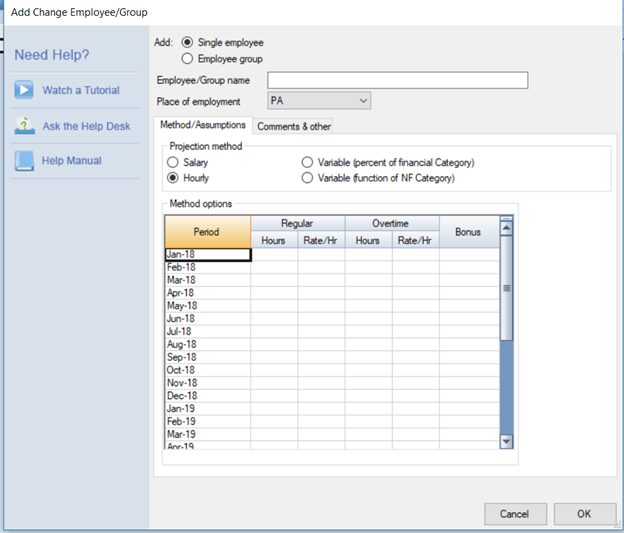
Now we get in to our two variable methods. First is the variable as a percent of a financial category. This works similarly to the “Percent of other categories” projection method found elsewhere in the program. You select the category of which this item is a percent of, then enter in the percent amount as well as a base salary.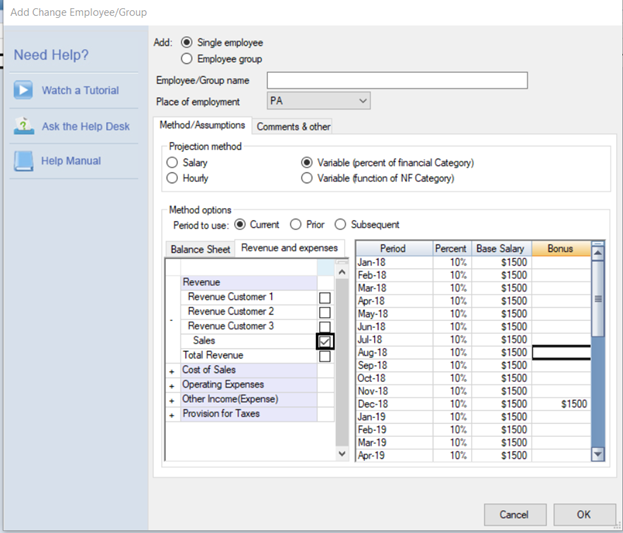
Lastly, we get to the non-financial variable projection method. Here you select the non-financial item that this is a function of. Once that is done, put in the multiple factor, and add a base salary if applicable.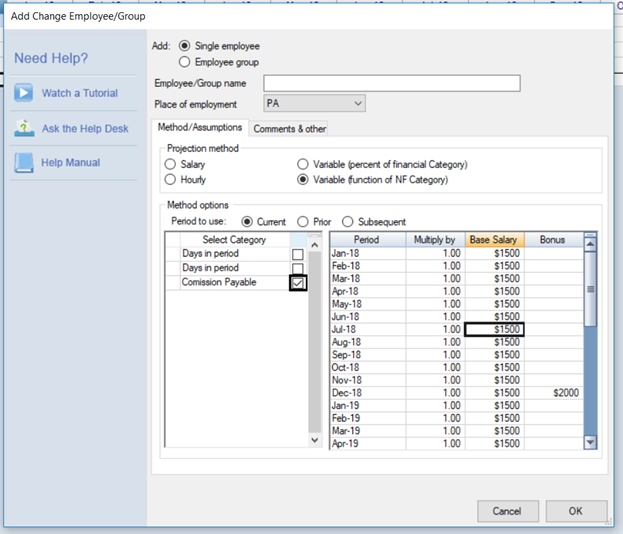
After you add all of the line items that you desire, the setup of the payroll tool is complete. You will now see your total payroll expense, as well as it's associated payroll tax on your Income Statement
