If your version of QuickBooks cannot interface with PlanGuru, the quick and easy work around is to run a QuickBooks report to Excel, and then use PlanGuru's Excel import utility. Here are some quick tips to get a report out of QuickBooks that is ready for importing into PlanGuru.
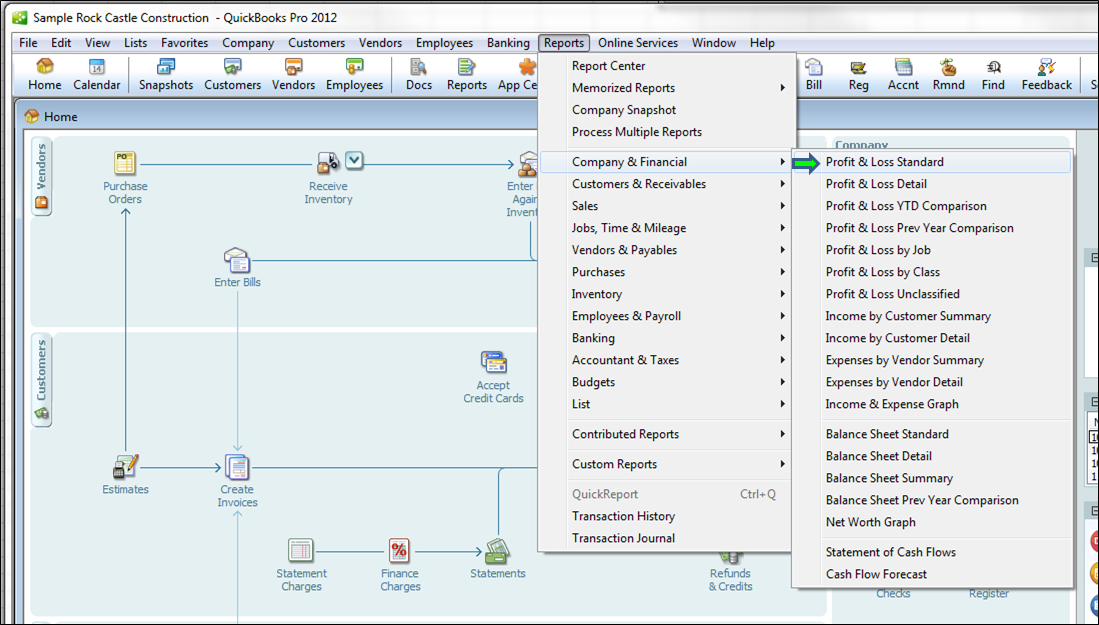
1. Start by running a report in QuickBooks
(the 'Profit and Loss Standard' & 'Balance Sheet Standard' are suggested formats)
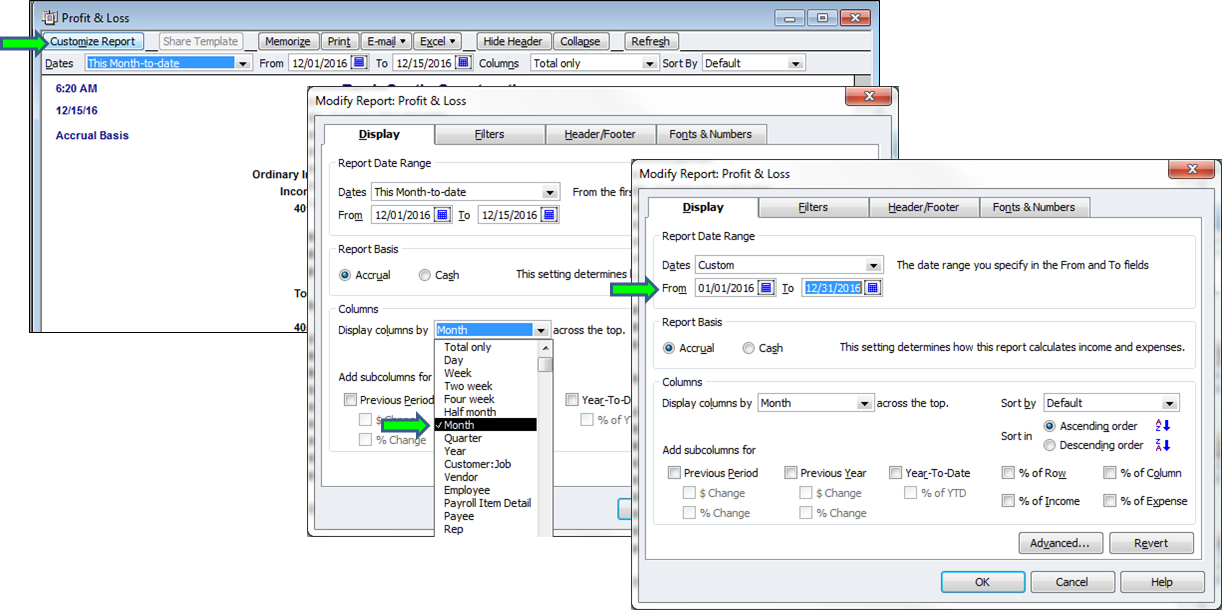
2. Customize the Report columns
To make the import process more efficient it's best to import a number of periods at once, PlanGuru will allow you to import up to 36 periods of financial data in a single import. Your QuickBooks report can also be modified to include multiple columns of results by month or year. Do this by clicking "Customize Report", next with select month (or year) from the "Display columns by" drop down box, and finally update your date range (note QuickBooks will allow you to create a report with 36 or more columns)

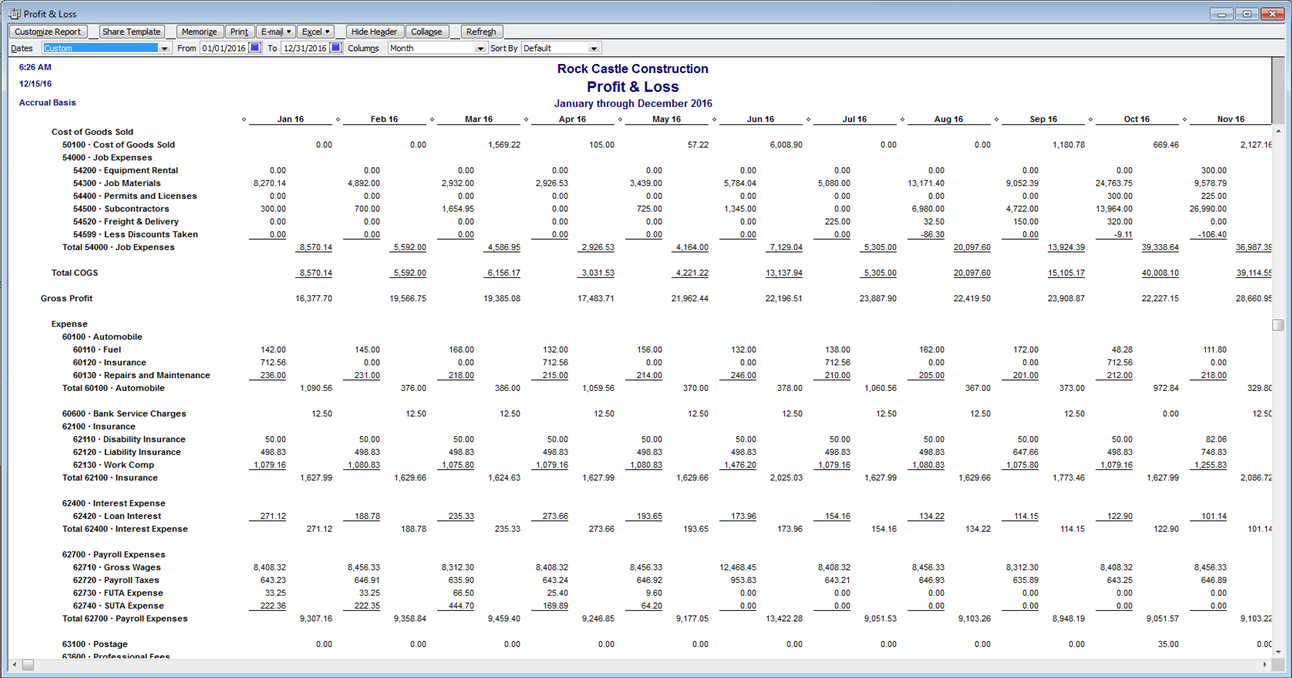
The result is a QuickBooks report with one column for each month or year of the selected date range.

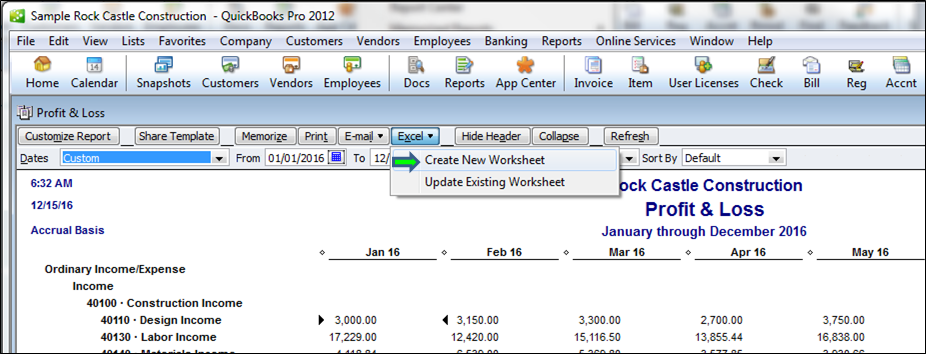
3. Export the Report to Excel
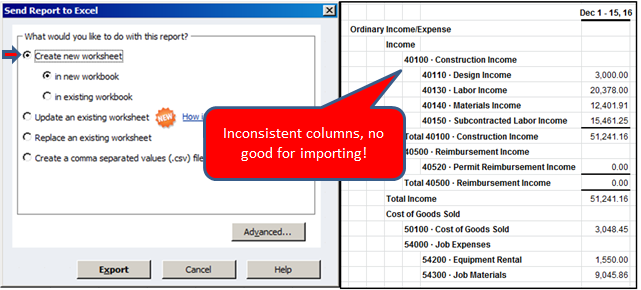
You will need to get the report in a format that can be opened in Excel. To do this click the Excel tab and select 'Create New Worksheet'
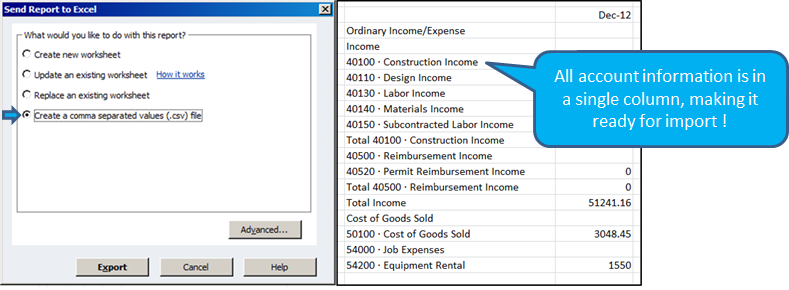
4. Choose csv format, this produces the best results.
The default selection sends the file to an xls format, which provides account information in inconsistent columns, this is no good for importing into PlanGuru.
Instead choose to the .csv output, this will put all of your account information into one column, making it ready to import.
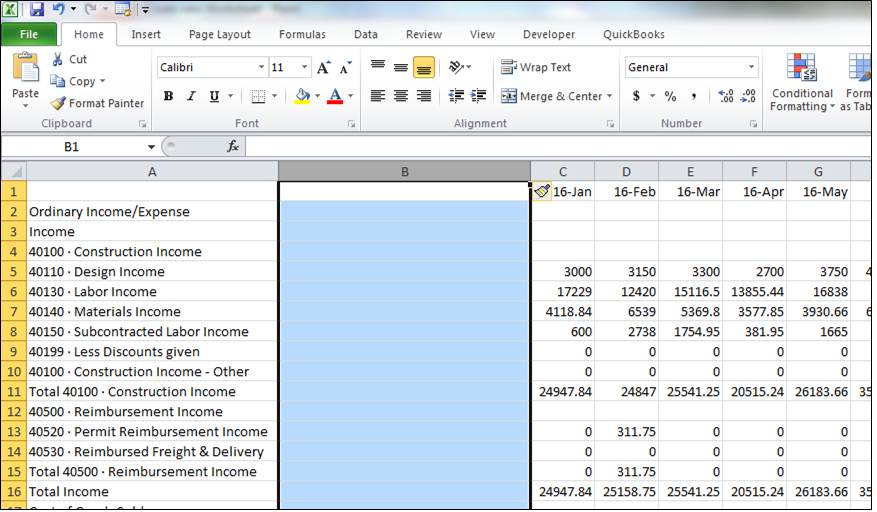
5. Use Excel's Text to Columns to separate account numbers.
If your QuickBooks company includes account numbers this feature will allow you to parse out both portions of the account number and description into separate columns. With your csv report open in Excel start by inserting a blank column into the report.

Next highlight the combined account number & description string and click on the 'Data' tab, and 'Text to Columns'

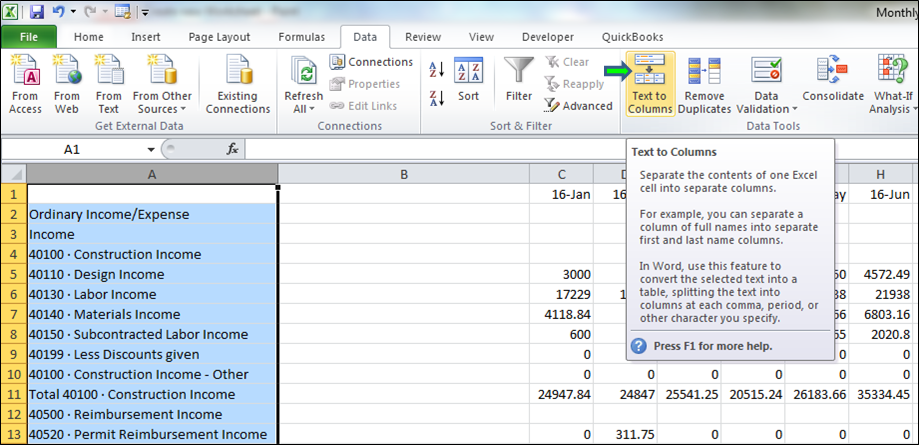
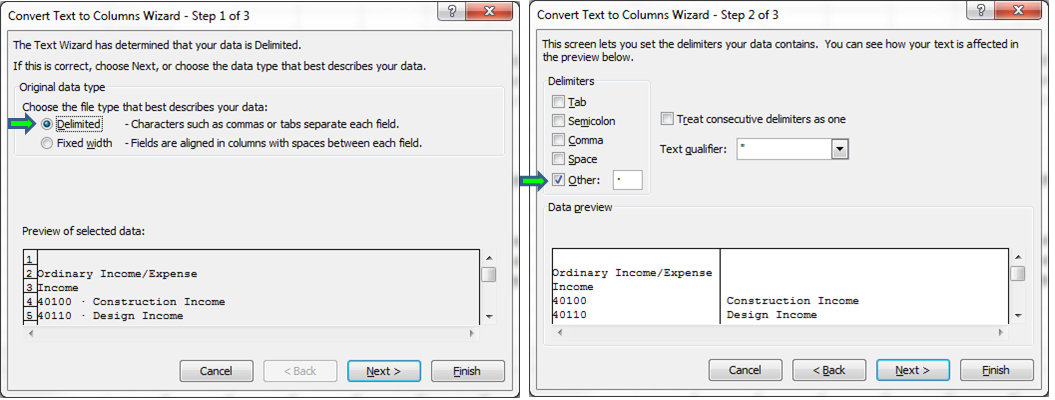
In the Text to columns wizard select 'Delimited' in the first dialog. In the second dialog select 'Other' and copy and paste the character QuickBooks uses as a delimiter into the text box to the right of other. Then click finish to complete the text to columns process.

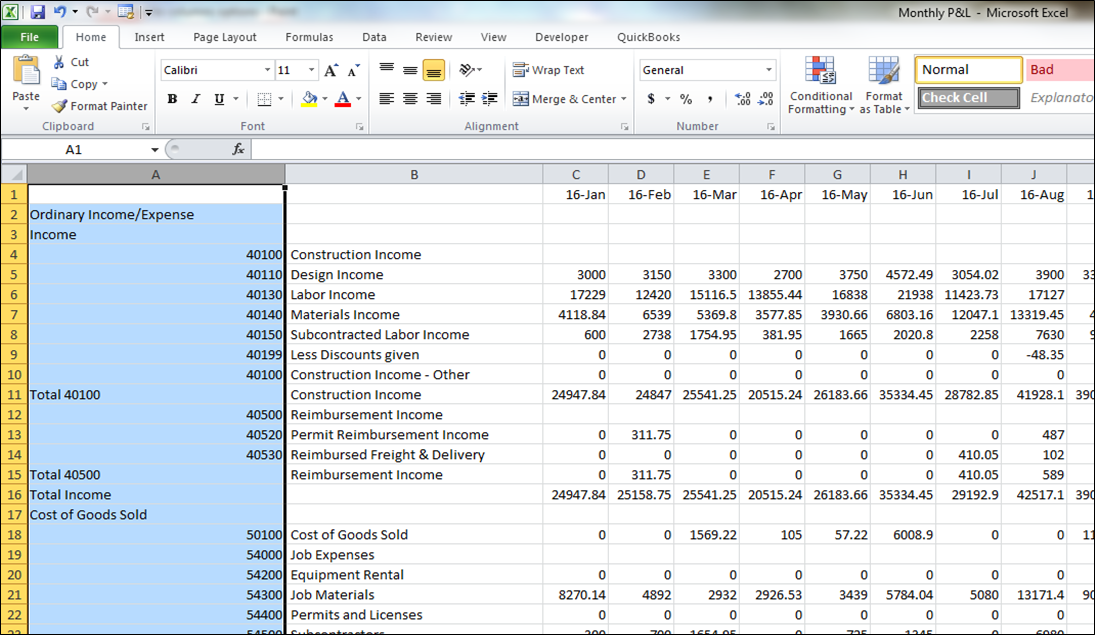
The result is a QuickBooks export with account numbers and descriptions in separate columns. NOTE: rows with that are still mixed, or that don't have account numbers are parent account and total rows. It's fine that these aren't formatted the same, because we don't want to import these into PlanGuru (they will result in double counting). These rows will get filtered out during the import process.

For more questions on the Excel "text to columns" functionality see this Microsoft forum post: http://technet.microsoft.com/en-us/library/ee692872.aspx
Save your results and begin the import process
The resulting CSV file is ready to be imported into PlanGuru. See this knowledge base post for additional information about working with the Excel Import Utility: https://planguru.zendesk.com/entries/21385948-excel-import-p-l-and-balance-sheet-must-be-imported-together