Here are the required steps for activating PlanGuru security and granting analysis rights to your users.
Activate Security – Go to the left side menu in PlanGuru and from there select: Utilities>Manage Security>Enable/disable user security and click the check box confirming your selection in the next window.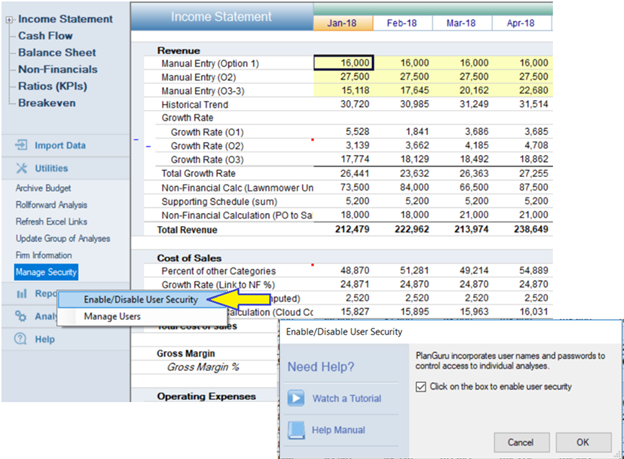
Add Users – Add each user you would like to create by entering the appropriate information in each text box and click “Add” to confirm. When done adding users click the “Exit” button. 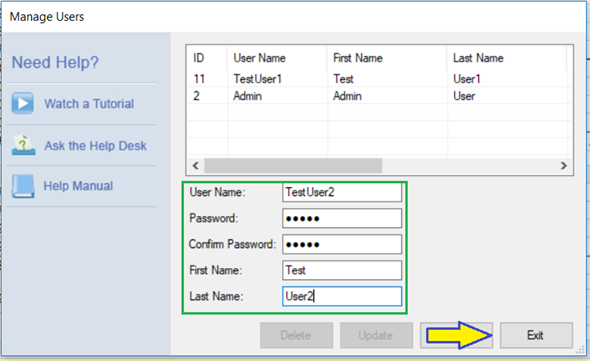
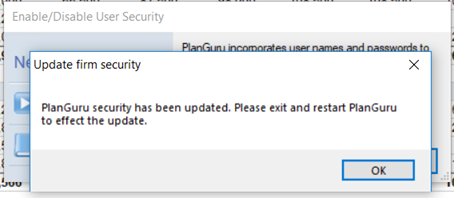
You will now be prompted to close the application in order for the changes to be made effective.
Log in as Admin – When you reopen the application log in as the Admin user when prompted to sign in. By default, the UserID and password are both “Admin” (case sensitive).

Change Admin User Password – Once you are logged in as the Admin user change the password from the default to keep your data files secure. Change the password by going to the left side menu in PlanGuru and from there select: Utilities>Manage Security>Manage Users.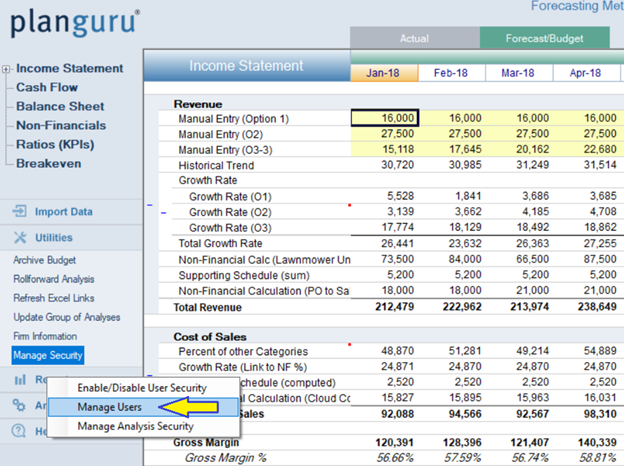
Once in there click on the Admin user and update the password by changing the values in the “Password” and “Confirm Password” text boxes.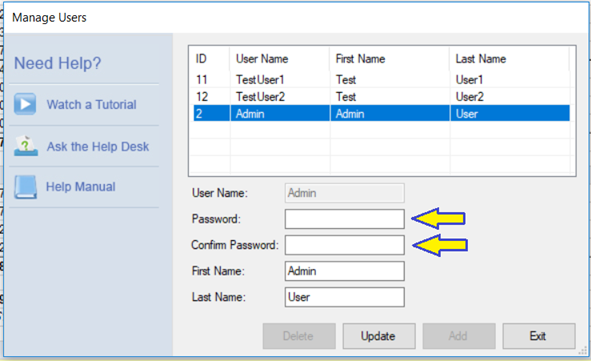
Assign Security to Each Analysis – With an analysis open (while logged in as the Admin), go to Utilities>Manage Security>Manage Analysis Security to change each user’s analysis level rights.

When in the “Manage Analysis Security” click the appropriate check box for each user according to their appropriate level of access.
Update Additional Analyses - Repeat step 5 for each additional analysis within your company before logging out as the Admin user.
For more information on this subject please see the attached pdf which contains an excerpt from our help menu on security